Available for Unreal Engine on Fab
Installation
The only thing you might need to do is enable the 3D Text plug-in — Edit menu > Plugins > 3D Text

Get Started
What follows is “Best Practice” but you do you
* Drag the Empty_Project folder to your main Content folder and select Copy
* Rename that new folder to suit
* Open up your new folder and open the Empty_Scene level
* Change the camera settings to suit
* Make any changes you will always want, e.g. add all the actors for your cast
* Save everything — File > Save All
* Every time you want to create a new scene, right-click on your Empty Scene level and select Duplicate
* Give it a good name. We suggest the scene number from your script followed by the location name.
* Right click and select New Folder
* Give the folder the same name
* Use that folder for anything specific to that scene, e.g. its Level Sequence, custom meshes, custom materials, etc.
Almost everything else you do is just standard Unreal Engine stuff.
Emoji Faces
It’s good practice to use the Unreal Engine mannequins as stand-ins for your characters because it means you focus on the action not on visual fidelity. The modified Manny and Quinn let you put an emoji or any other image on their face. To create a new face:
* In an image editor, create a 100×100 pixel emoji with a transparent background
* Save it as a PNG
* Drag the PNG into the Unreal Engine folder — Storyboard_Basics/Materials/Source_Materials/Textures
* Go to the folder — Storyboard_Basics/Materials
* Duplicate the Material Instance for the character you want to change, e.g. MI_Emoji_Head_Manny
* Give it a good name — we recommend you append the emoji name, e.g. MI_Emoji_Head_Manny_Laugh
* Open the new Material Instance
* In the Details panel, change the emoji texture to your new one
* Save and close
* In your scene, click on the mannequin you want to change
* In the Details panel, go to the Materials section and change the head material for you new one.
We’ve only included one emoji face for each character because we use downloaded ones. If enough people buy Storyboard Basics, we’ll create an official set and put them in an update.
Tips
Focus on getting it done and not on visual fidelity — if you’re worried about a particular texture or some line being too thick/thin or whatever, you’re doing it wrong. Storyboards are not the finished product, they’re a stepping stone. As long as people can look at your storyboard and know where to step… that’s all you need.
Most scenes only have a few essentials — the actors and maybe a few props. To make those pop visually, use Custom Depth Pass. There are instructions and examples in the Example_Scene.
Use stand-in props to save time — sometimes you’ll be tempted to spend hours trying to find the right model for a prop. If time is tight, use a stand-in. It’s very easy to replace a prop in Unreal Engine later.
A lot of people swear by the free Metahuman Animation Tool for quick poses:
https://www.fab.com/listings/843baea2-8298-4b07-8db2-7ca18b026b7c
We’ve had some success with the free version of Rokoko Vision for capture of poses. Stand in a neutral pose then adopt the required pose. If you need to adjust the pose — and it almost always needs adjustment — once imported into Unreal Engine and added to the sequence, right-click on the animation to convert it to control rig. The end result usually looks much better than hand-posed.
https://www.rokoko.com/
Examples
A very basic change to the example level in the project. This was done by adding a Level Sequence, putting the two actors onto the timeline and posing them. Total time less than 5 minutes. The control rig was left on for the screen shot so you can see how easy it is to pose actors.

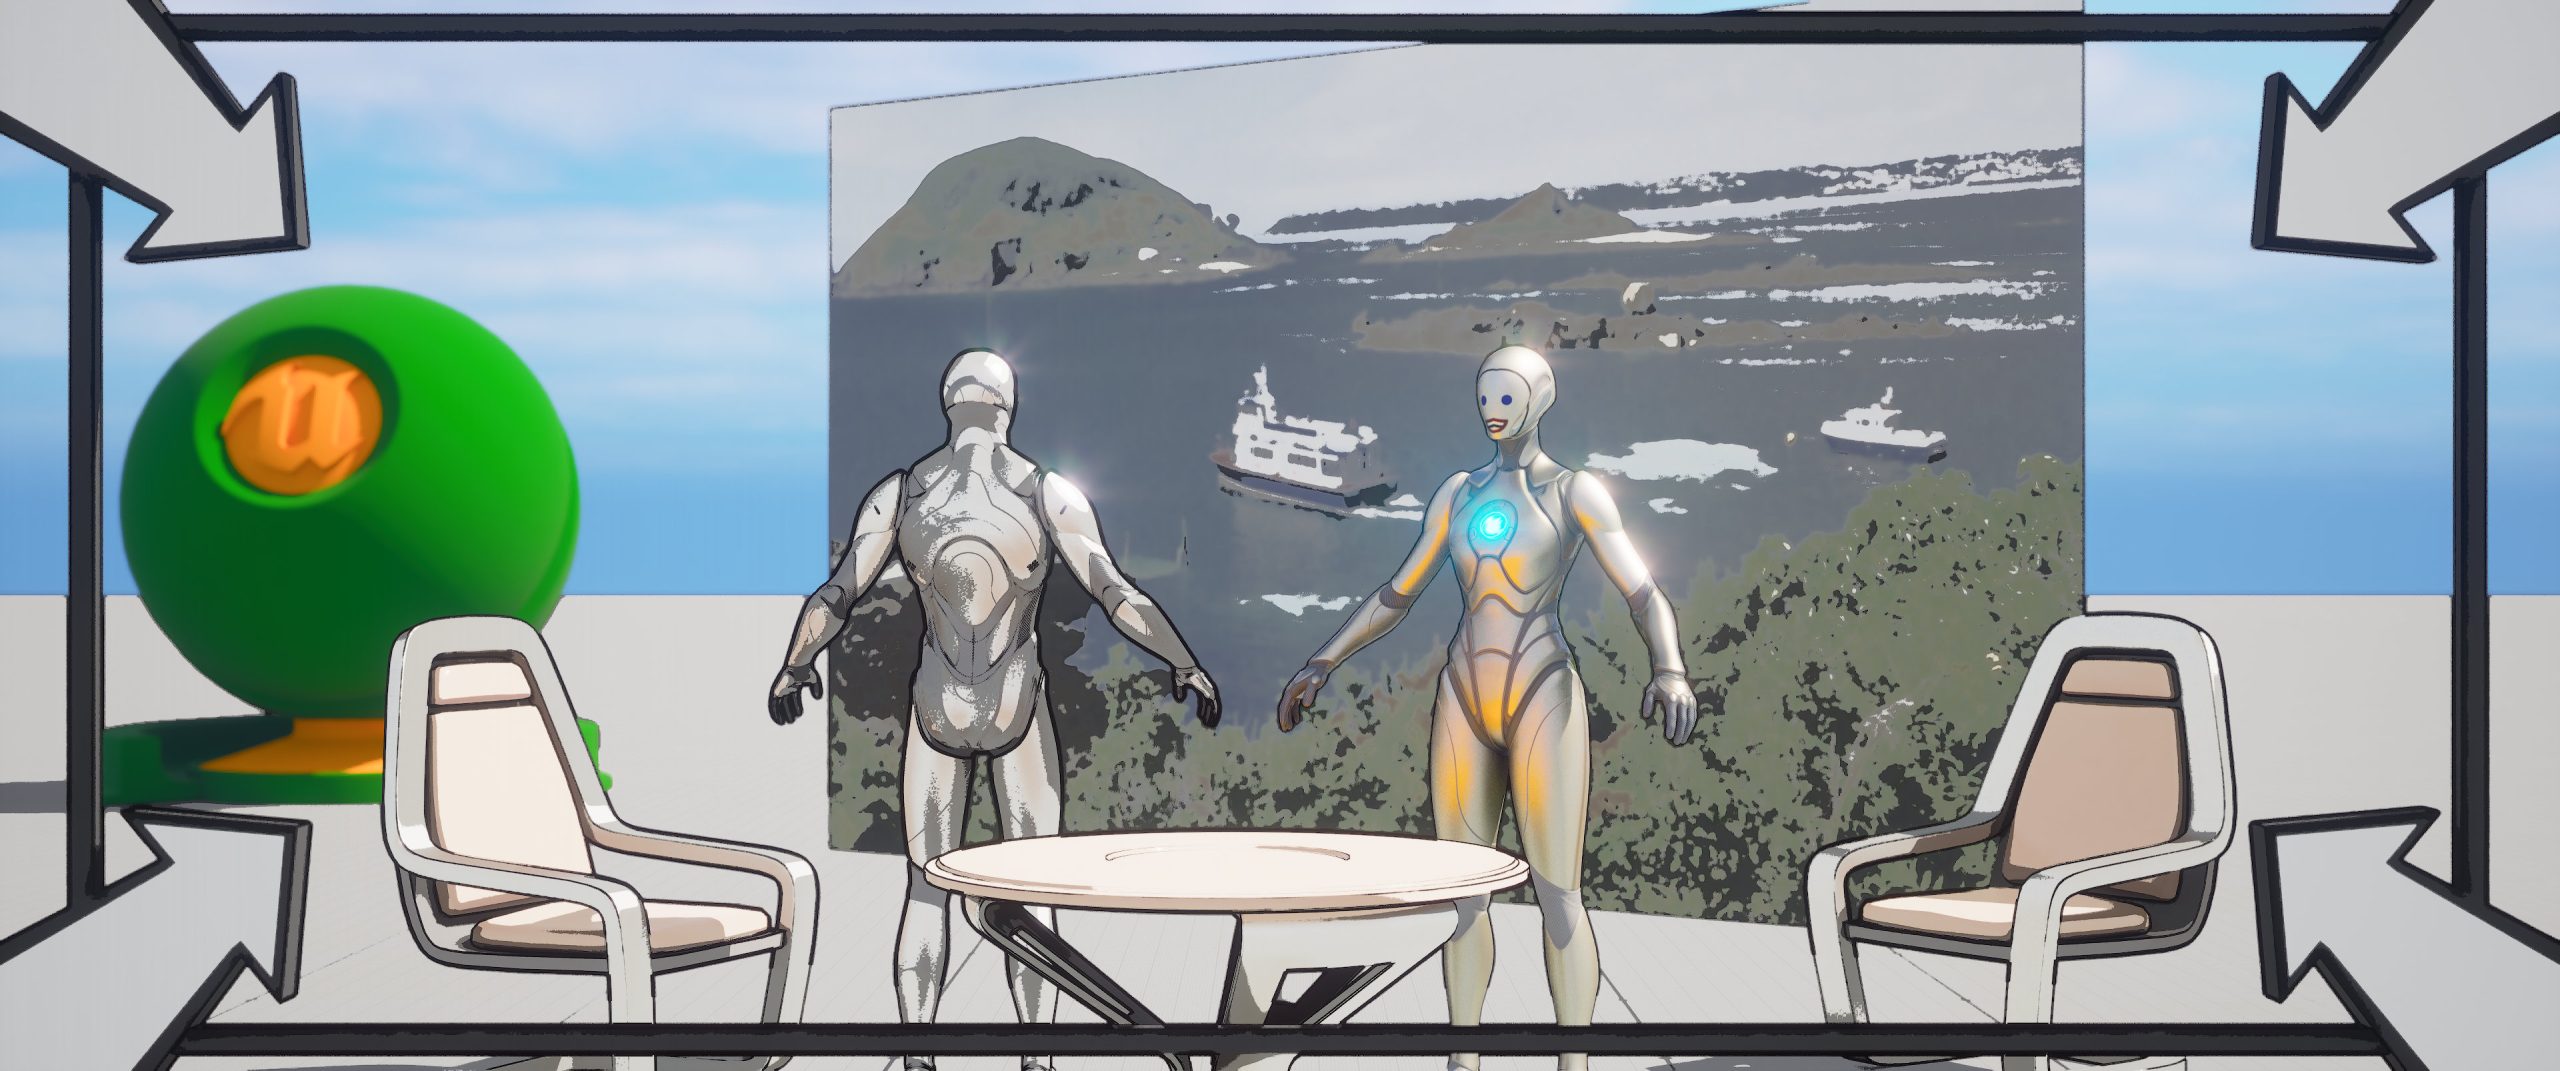
A more advanced change again with the control rigs left visible. Added some arrow to show one of the actors is moving fast. Changed the frame to show the camera should tilt up with the jump kick.

The same scene without the control rigs. This is fine for a storyboard except maybe the background is a little too assertive. Again, total time around 5 minutes. Which is the kind of speed you want for storyboards. Pose your actors, choose your camera angle, screenshot, save, move on to the next one.

Why do you want to move so fast? Because you probably want about 900 images for a 90 minute movie. If you average 10 minutes for each one, that’s 3 weeks of work.
Europa Inversion
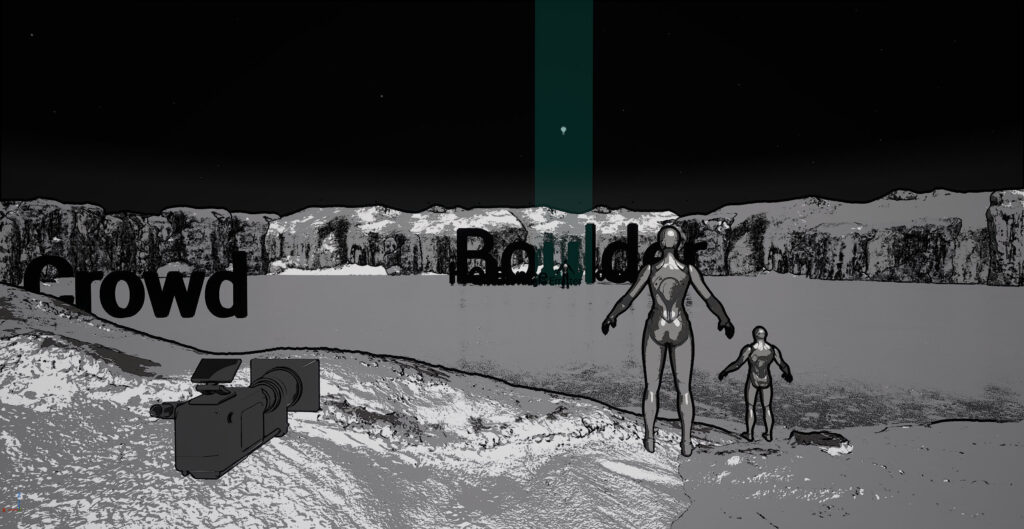
Here’s an example of the process. This is from the opening scene of our short film Europa Inversion (coming soon) and it looks rough. This is not a finished storyboard image, this is how to start.

The sky is black because it’s a night scene… but we left the direction light in the sky to light things. Proper lighting will come much, much later. The background is a bunch of Quixel assets. Manny and Quinn have been placed for blocking but not posed. Manny is half-size to represent a child. Props have been placed as big 3D text. They’ll be replaced later with the real thing.
This is the fast way of working. Get your basic blocking sorted first.
FAQ
What’s wrong with my Metahumans?
Honestly, we don’t know. Some are fine, some are abominations. Epic uses way too much voodoo in them. If you’re going to use Metahumans, you may need to switch off the Cel Shader and Outliner.
Can I make my own custom camera movement frames?
Yes. You can and should!
* Duplicate the empty frame and the camera movement arrows you want
Arrange them how you want
* In the Outliner, drag the arrows onto the frame so they become children
Now, if you drag or rescale the frame, the arrows will do the same
I migrated the project and the Storyboard Basics level vanished!?
This is a bug in Unreal Engine. To fix it:
- Open a Storyboard Basics project
- Navigate to the example level
- Right-click and select Copy Reference
- Open your project
- Navigate to the Storyboard Basics folder
- Paste
How can I ask you about things?
Tag us on X — @HomeStarMovie
